Drake
home
Our Home

The Ultimate Birthday Surprise!
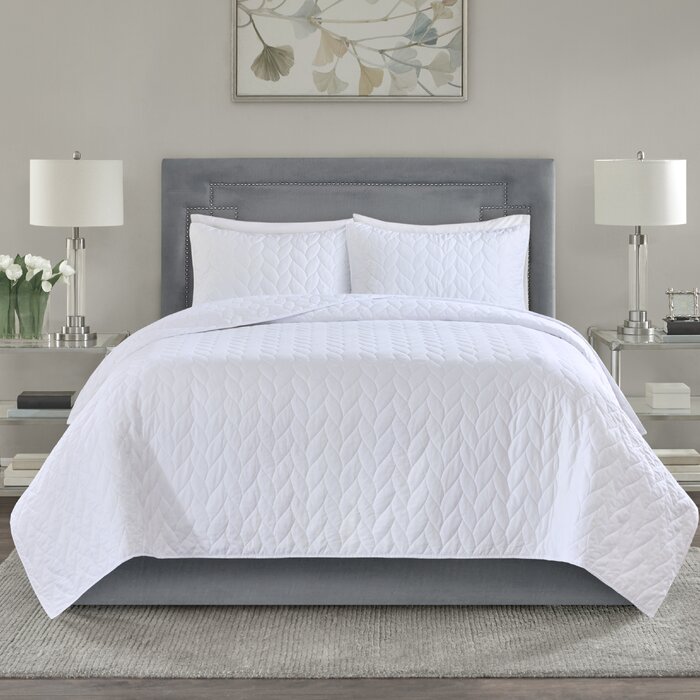
I've been itching to get something realllly special going for our dude! He literally jumped into 7th grade 4 days ago and he will be turning 13 in a couple months and while we've always tailored his bedroom to be functional and classic - and boy - I feel like it's time to WOW him. A time to really make a statement and let him know how excited we are him journeying into his teen years and give him a space he's proud to call his.
Every time we've done any kind of updates throughout the house or when we move homes, he's been meticulous and so tuned in to all the details of each piece we use with decorating and it feels right designing a place all around him growing, developing, challenging, molding - into a young man!! Holy cow. I freaking blinked and he's 13!!
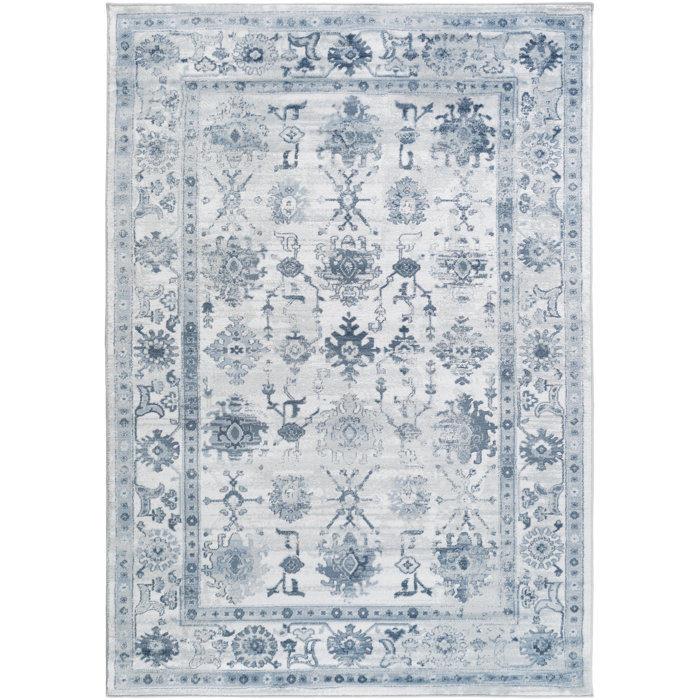
Do you remember when I came into his life at 4 years old through marriage? Four years old. I look back at pictures and can't even remember him being so small and baby-like. That's Emery's age in a couple months! I'm pumped to pull together this mood board of inspiration from Joss & Main creating a tailored, comfortable, and functional space for him!
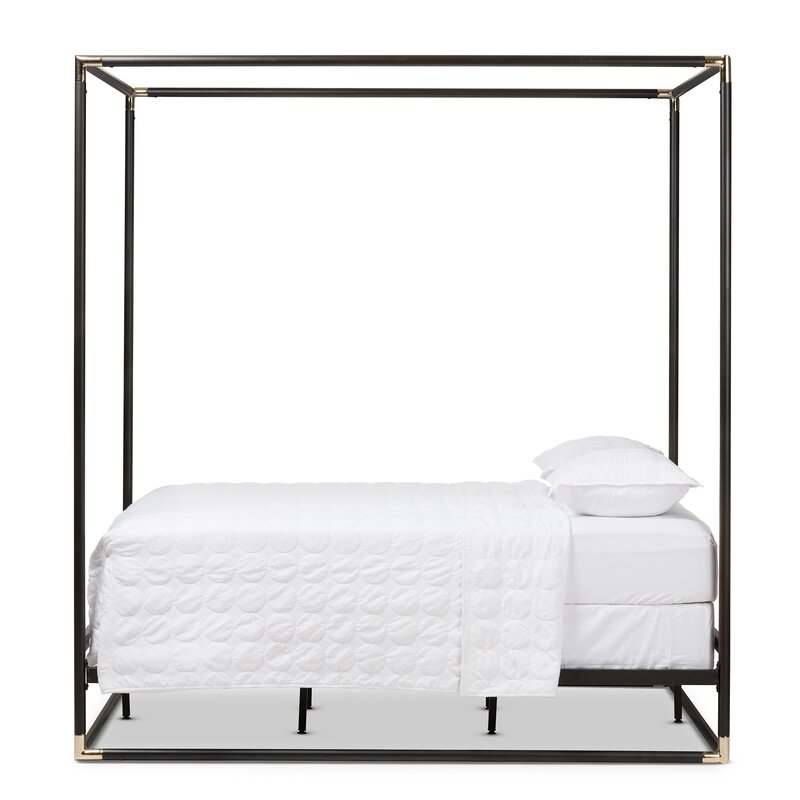
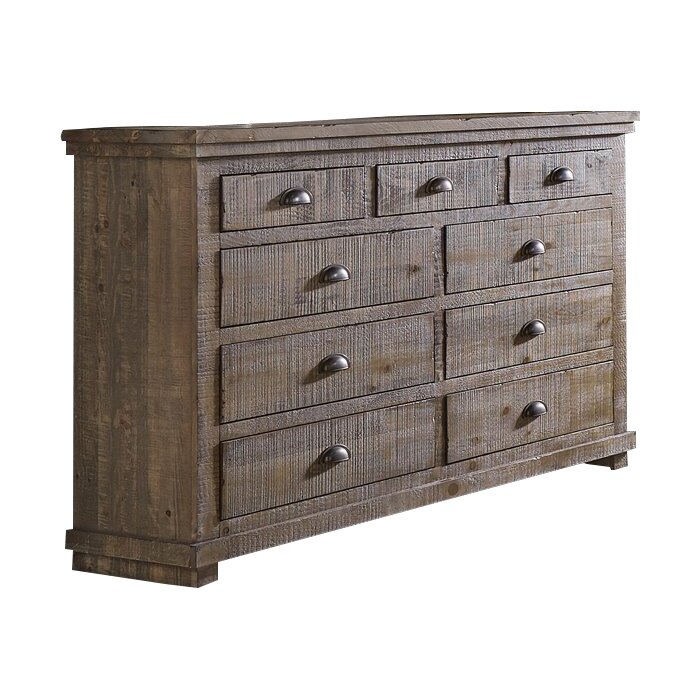
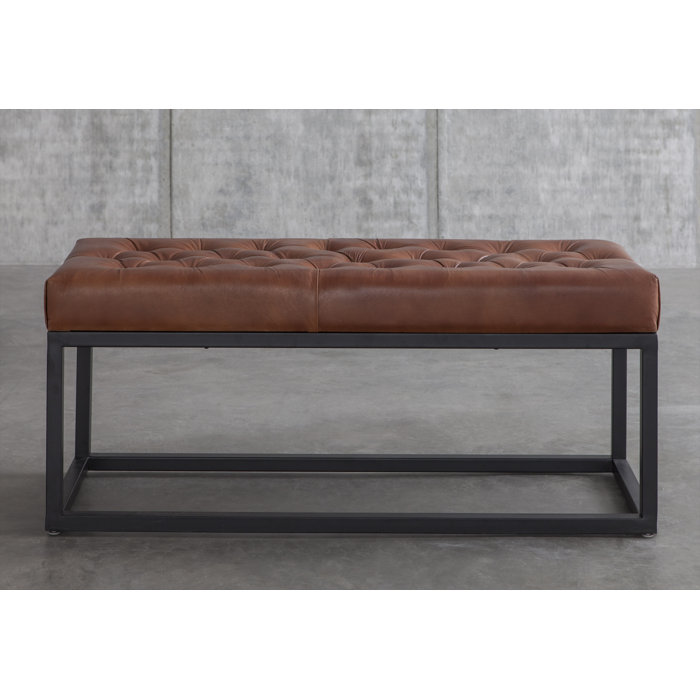
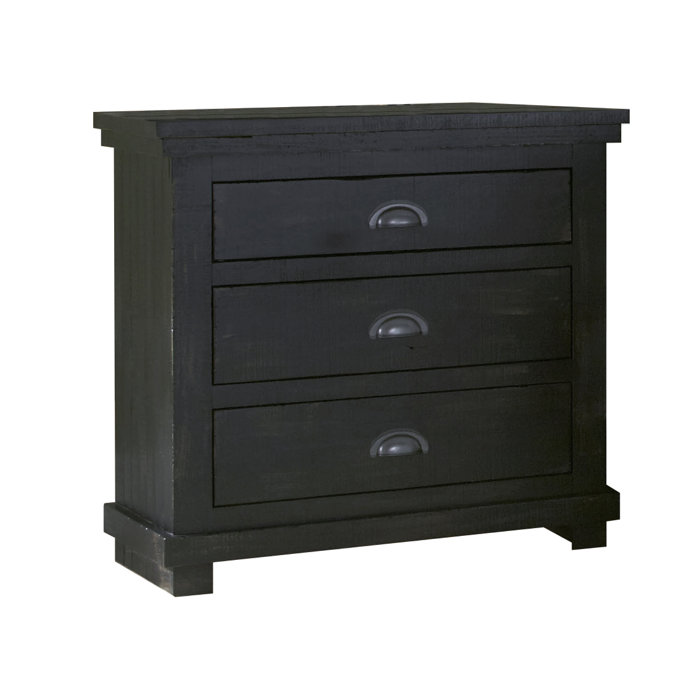
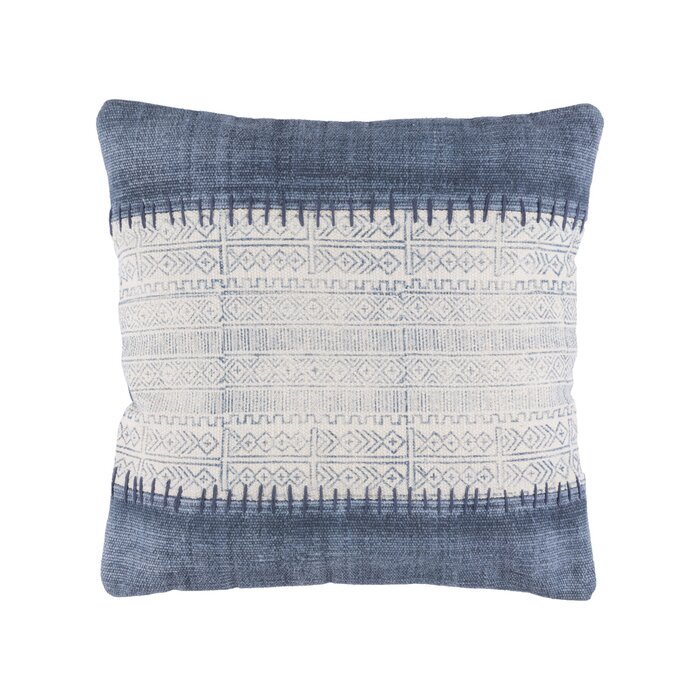
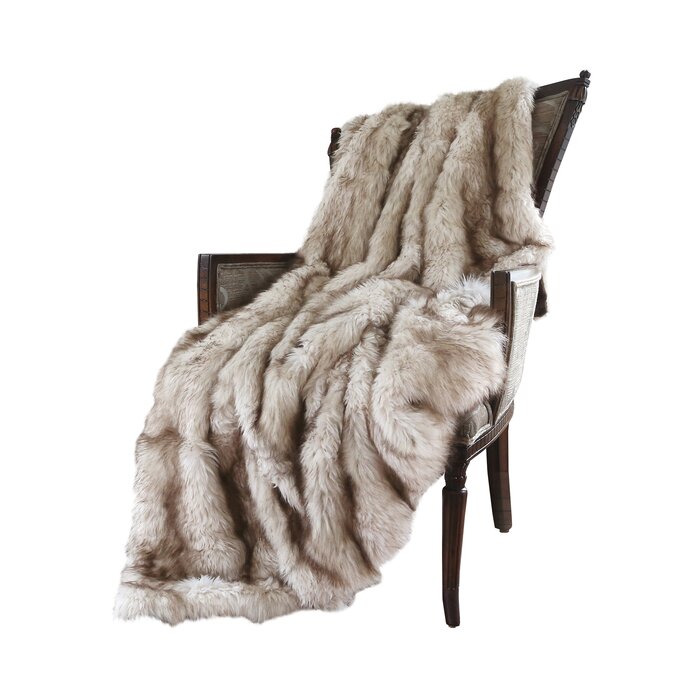
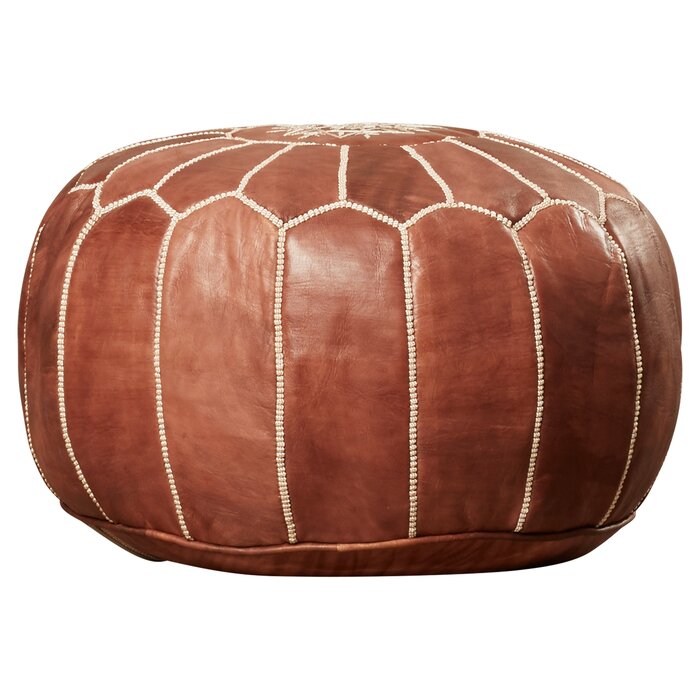
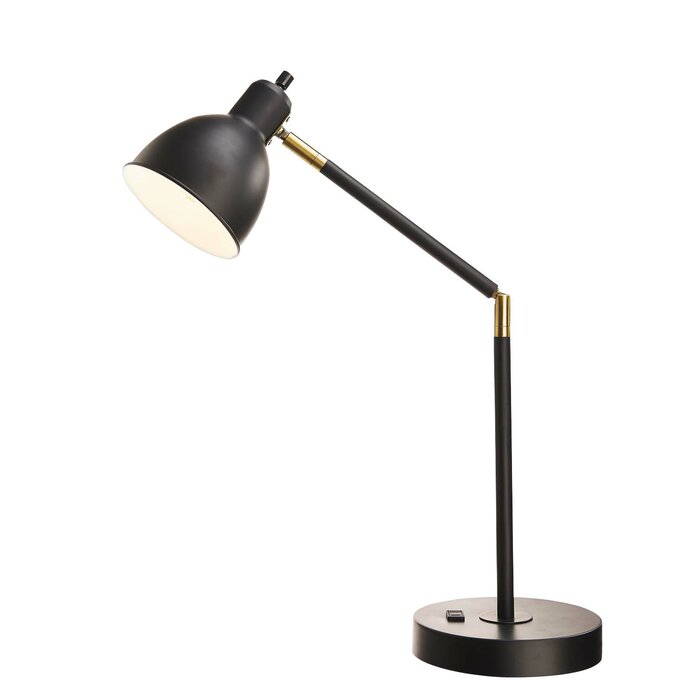
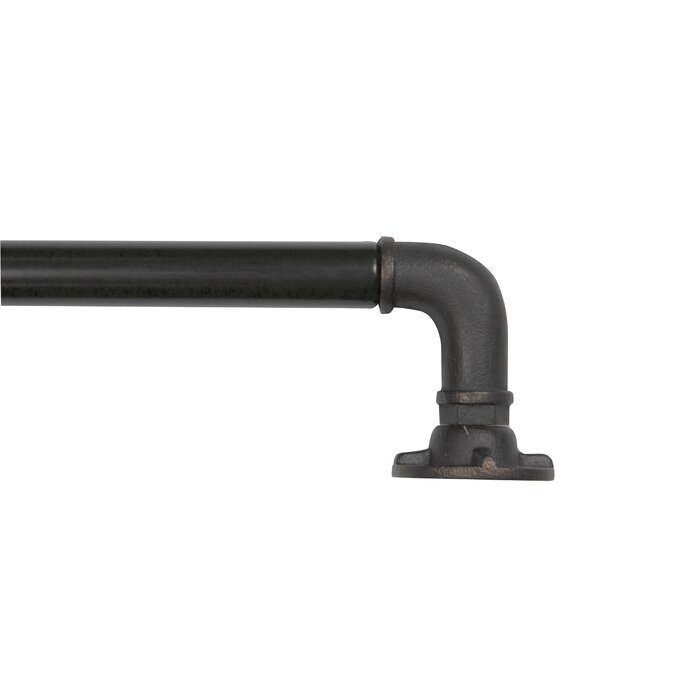
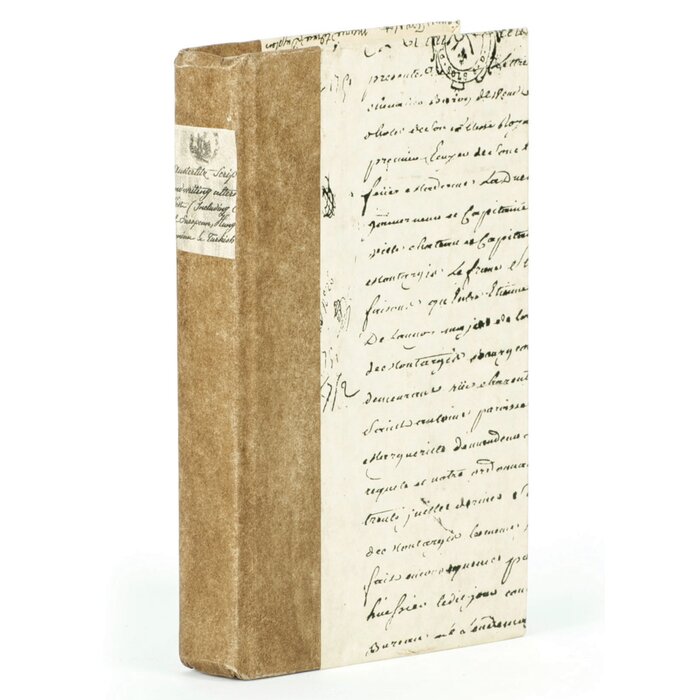
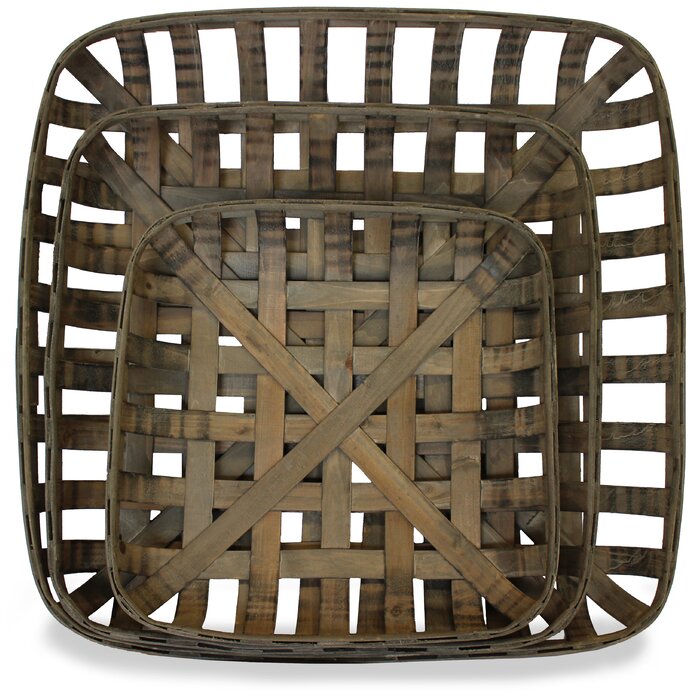
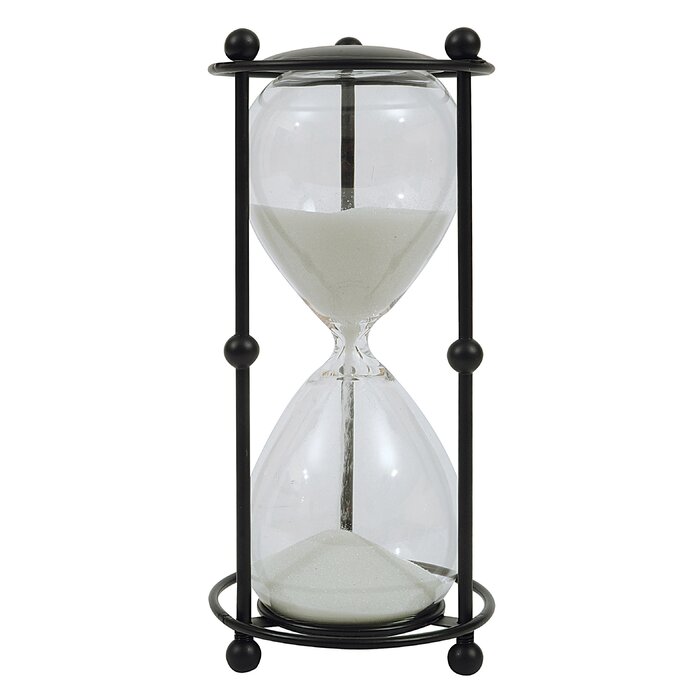
He always has been vocal loving the black metal accents and blue we've used throughout our home so my goal is adding in the clean, simple lines while popping with warm tones. A fuzzy throw blanket, warm leather in a pouf and a bench and then of course, going overboard with throw pillows to make it that much more inviting. Add some industrial elements through the lamps for the nightstands and a statement piece of art and I can bet you he won't be leaving a space like this anytime soon.
So what do you think? Is it the ultimate 13th birthday surprise? I mean, we will totally be having a surprise birthday party, too, but this really start off the teen years with a bang! ;)
Every time we've done any kind of updates throughout the house or when we move homes, he's been meticulous and so tuned in to all the details of each piece we use with decorating and it feels right designing a place all around him growing, developing, challenging, molding - into a young man!! Holy cow. I freaking blinked and he's 13!!
Do you remember when I came into his life at 4 years old through marriage? Four years old. I look back at pictures and can't even remember him being so small and baby-like. That's Emery's age in a couple months! I'm pumped to pull together this mood board of inspiration from Joss & Main creating a tailored, comfortable, and functional space for him!
He always has been vocal loving the black metal accents and blue we've used throughout our home so my goal is adding in the clean, simple lines while popping with warm tones. A fuzzy throw blanket, warm leather in a pouf and a bench and then of course, going overboard with throw pillows to make it that much more inviting. Add some industrial elements through the lamps for the nightstands and a statement piece of art and I can bet you he won't be leaving a space like this anytime soon.
So what do you think? Is it the ultimate 13th birthday surprise? I mean, we will totally be having a surprise birthday party, too, but this really start off the teen years with a bang! ;)






family


Our Colorado Turnaround Trip
Grief is a funny thing. Andrew's grandpa went home to Jesus September 2017 and we said goodbye to him October 2017 with all the family, cousins, aunts, uncles... everyone. It was rough. I have a video on my phone from minutes after learning he passed of Emery in her Elsa costume and her asking "mommy, why are you crying? are you okay mommy?" and I wanted to remember her sweet soul and her sweet comments because she said over and over she loved me and asked if I needed a hug.
Their hearts are innocent and pure and GOLD. Solid freaking gold. In that moment it was comforting and familiar and gave me a good push to get through the days following coming to terms with not seeing grandpa again.
Fast forward to July 2018 and Andrew's grandma needed a favor from him. He loves finding cars, flipping cars, and making a business of it so when she needed to turn in the lease on her vehicle and buy a new one, Andrew was all over it. Take note, we're in Phoenix and she's in Golden, CO. Of course he found her the best deal and we planned to drive there 13 hours on a Thursday, get in around 7pm, spending Friday with family and fly home first thing Saturday morning.
It was a whirlwind. A good and healing whirlwind.
We stayed with his grandma and it was my first time being in that home. So much love and memories were there. SO MUCH was told through the things on the walls and collectibles they had throughout the home. It was like a big wave of grief all over again knowing he wasn't there to give us a big hug and share a donut and coffee. Such a weird experience coming to terms with that.
Being at peace with his passing was easy because we knew he was no longer in pain after suffering for so many years - he was with Jesus now. Whole and home.
Such a random post but it's always good to talk about what's happening in life and share our hearts.
xo
home
Our Home


Our New Patio Space
Having a patio space or outside area in Arizona really can only be used during the months of October - April because it's a furnace so with Fall quickly approaching, we teamed up with At Home to create a whole new space, perfect for entertaining and welcome guests - and we're obsessed!!
If you know anything about Arizona homes, they're all stucco and all look very much the same and if you live in an HOA, you are nailed down to their color palette and elevation options on the outside of the house. That said, we moved into a spec home in August 2017 and didn't have a choice on those colors or selections and overall, it's a touch brown for my taste. I'm a cooler toned person and steer clear of the warmer options so I knew working with that on the patio, I needed to bring in some dark metals, wicker accents and overall, the pretty jute I have in nearly every room of our home.
We picked the Astoria collection from At Home and added in the details with a faux Fiddle Leaf Fig, basket hanging elements, jars in different sizes and our stenciled concrete flooring tied it all together.
It's been so nice peeking out the back door and seeing this serene and inviting space to relax in! We've braved it a few times with the warm weather but can't wait to really break it in come the fall!
all elements included in this post were purchased at At Home with the exception of the PEORIA pillow.
Thank you At Home for sponsoring this post!
marriage
Mexico
vacation


Mexico Vacation
We got back late last night from a short trip to Mexico. I was our first time back to "Arizona's Beach" since Andrew had his accident in 2016 so it was kind of an emotional roller coaster for me. I grew up going every couple months and we did that all throughout the first years of our marriage but once we hit the snag with his accident, I didn't really have the desire to go back and relive those memories.
It was Andrew's birthday on Sunday so he really wanted to spend some time back in Mexico and soak up the sun and relaxation so we did - kid free! I'm happy we went and kept saying we for sure need to go back again with the kids. Drake has yet to come with us and Emery went twice - once at 4 months and then at 15 months. I'm working on getting the kiddos passports now so we can get back sometime in the winter with cooler weather and more family with us.
Overall, it was a great trip! But I will say, I was homesick and missing the kids like crazy. Do you guys typically vacation as a family or just you and your spouse? I think doing both is so good for you! Pour into that marriage and get time alone but also create memories as a family and experiences together.
code AUBREYLL15 at Logan + Lenora
code AUBREYLL15 for a discount
home
Our Home


Master Bedroom Shiplap
I can finally say we have a legit shiplap wall in our home! I did do a makeshift one in the kids bathroom back in September but this is just all the feels seeing it in our master bedroom and how big of a statement it makes. It just feel right. You know what I'm saying?
We had our local friend, Mike, from Dec1Designs (@dec1designs) do this for us. Him and Andrew go way back with Discount Tire and our families spend a lot of time together. He also upscaled those night stands you're seeing here from IKEA. I can't believe how much bigger our room looks with just this simple update! And it makes me want shiplap everywhere now. Or white walls. I still have a hard time accepting the paint color the builders chose with this house... because it's dark.
Now onto the next house project! Finishing up our outdoor patio space and then a mudroom! What house projects are you working on right now?
hollyn grace


My Peanut | 20 Months
Okay, this little lady is just melting my heart lately! She's almost 20 months and still the tiniest peanut but her personality is coming out and it's so fun to see her similarities and differences to her older siblings. She's talking up a storm now and knows what she wants - I mean, that girl is relentless until she gets it, too.
She's breaking in a few teeth, which I think are her last ones. Praise the Lord! She isn't sleeping quite through the night. It's maybe once a week we get a full night of her sleeping while the others are up around 3am. Guys, she's going to be 2 in a handful of months here and that is slowly killing me. Angel from day one only waking up once or twice but 20 months in and I'm like.... when will this end? Will it ever end?!!
We have been dealing with some constipation issues with her and it literally breaks my heart. We did find a resolution for it recently, which has been a blessing but man, those few months of constantly struggling and her screaming from pain was so intense and broke my freakin' heart!!
She's finally getting into 9-12 month clothes and wearing things her sister wore when she was around 8 months. It's crazy how different they are in size. I thought having two girls at the same time of year, they'd be wearing all the same clothes during the same seasons because of sizing but nope. Hollyn is so behind on that scale. We just introduced size 2 diapers and she's actually wanting to already potty train so that's hysterical.
Anyway... wanted to update here this sweet baby! We love her to pieces. She really makes our family whole.
Happy Friday, friends!
xx
home
Our Home


Subway Tile Backsplash for Under $100!
Okay, you asked and here it is! I shared about a week ago we finally did the classic subway tile backsplash in our kitchen for less than $100 ($81) and people were shocked! It really was that cost effective and budget friendly so this would be best to just break down and share what we purchased for you to see from there.
As far as installation, we have our good friend, Mike who is the owner of Dec1 Designs (@dec1designs) and he always helps Andrew and I our with random projects around the house. His wife and I are good friends and our kiddos play together all the time so if you have a handy man for a friend, loop them in on helping install! You will need a tile cutter and they can be rented from Home Depot for like $20.
BEFORE
First off, you have to measure your square footage. Of course price will fluctuate depending on what you need to cover with space so keeping that in mind - here's our information. Also, full disclosure, the below is going to look a bit messy because it's all iPhone screen shots but this shows the product we snagged for better reference.

Festival White Subway Tile
You may not have a Floor & Decor locally but because we do, we went there. I believe white subway tile is typically .23 cents each at Home Depot or Lowe's and Floor & Decor was .15 cents so already, way cheaper! We opted for the traditional 3x6 sizing and because of square footage we needed to buy for, we just bought 3 full boxes of tile at $12.00/box.

Mapei Type-1 White Adhesive
This is your adhesive to apply to the back of each tile to adhere to the wall. Some people had questions asking if textured walls matter and no, it doesn't. Just grab this for your project and it'll do the job seamlessly. Cost is roughly $12.00.

Mapei Silver Unsanded Grout
So the picture is not showing the color we chose because I picked something else. I ended up going with the color "Silver" which turned out to be the perfect choice for our home. Our countertops are builder grade granite with a ton of warm and cool tones so it worked perfectly. We aren't going to be changing the countertops while in this home so overall, it was a good choice. Also, make sure your snag the unsanded grout. Cost is roughly $12.00.

Mapei Unsanded Siliconized Acrylic Caulk
Again, this is showing a different color but whatever grout color you choose, get the same unsanded siliconized acrylic grout color. This is to touch up all the edging of the tiles where grout doesn't meet and seal up any gaps. Total cost on this roughly $7.00.
Festival Ceramic Bullnose
This is a tricky one because you'll need to take a look at your kitchen and see which areas are needing a rounded edge finish over the standard tile edging. We needed 10 total for our project so total cost came in at $7.20.
So there you have it! Those are all the items we used when working on this project and our grand total was $81.62. Insane, right?! What projects are you working on with your home? Ours is never ending but it's so fun actually getting them marked off the list!
home
Our Home


Stenciling a Concrete Floor
stencil | playhouse- Amazon | doormat- Target | chair (similar)- Home Depot | lanterns- IKEA | planters- IKEA | pillow (similar)- Target

Back in August when we moved into our new home I was on the hunt for creating a patio space that was cozy, comfortable, stylish, and beautiful! I wanted the kids to be able to run outside and love the space they had while Andrew and I being able to welcome guests and entertain, because we love doing so.
I started scrolling Pinterest for ideas when we were planning out our backyard design and landscape and after all that was done, I knew I needed to snag all the goodies to just bite the bullet and paint our covered patio concrete slab to really make the space unique and inviting. Bringing a little bit of the inside, out.
I came across this tutorial from Zevy Joy and snagged the stencil in September. Then it sat for 9 months. So Spring comes around and I keep telling Andrew I need to do it and then it hits 105 and I'm like... NOW. It's happening now. So with a fire up my behind because we are planning to get all our patio furniture from At Home in the next couple months, I knew I needed to get this accomplished before I got all those homey pieces to actually style the space and make it ours.
When I purchased all the supplies, I reached out to an epoxy company, read tutorials and asked a few painters we knew and they said as long as I had a good sealer, I was A-Okay using interior paint for the coverage. We shall see in time if that's going to work or not... ;)
Here's what we purchased
Behr interior flat paint in White, 2 gallons
Behr interior flat paint in Carbon, 1 gallon
9in roller paint brush + 5 foot attachment
Painter tray + liners
2in paint brush for edging
Slim 3in roller paint brush for stenciling
Blue painters tape for stenciling
STEP ONE
I started will taking everything off the porch and power washing the area. Get all the built up dirt and grim from the space and make sure you have a clean slate. This is essentially brand new concrete so we didn't have imperfections or cracking so we didn't need to patch or add extra steps making sure the concrete itself was in good shape.
STEP TWO
I jumped right in and started with a white coat. I trimmed the edges first and then rolled the interior of the space and did two coats this way.
STEP THREE
Stenciling! I opted for the largest sizing available in the stencil and it was perfect. I taped 3 of the four sides when lining it up and roller the black paint with the smaller roller brush then. I didn't wait for each section to dry - I just continually went in a horizontal row all the way across then bumped back over to the next row on the bottom left, where I originally started the upper row.
Whew! I hope that makes sense.
STEP FOUR
Dry time. Let it dry about 24 hours to ensure it's good to go before adding your sealant. While I need to get back to y'all on that part, all we have applied up to this point is a spray can Outdoor Paint sealant recommended to us from an employee at Home Depot.
Again though, I'll be going back and sealing this heavily with an epoxy type clear finish.
Overall, the project took me about 4 hours on a 12' x 6' space and was so easy to do. The stencil is laid out to line up everything evenly so applying it was so simple. I didn't care for little smudges or imperfections because it's a space I'd like to have character. The whole idea of this "tile" look is rustic and very old world to me, so it's second nature to have those little areas adding character.
I looooove how it all came together and can't wait to actually get the furniture we envision in July. It's on our list to get around Andrew's birthday as a splurge!
So what do ya think? Was the DIY worth it? Or would you opt for just tiling the space and calling it good. I'm personally all into house projects lately to put our touch on the home and give it good appeal for resale so it stands out!
the outcome
Subscribe to:
Posts (Atom)